Wednesday, October 31, 2012

1 Hour Pumpkin Costume: Tutorial

It is the morning of Halloween. Do you know what costume your child will be wearing? If not, why not whip up a pumpkin costume? This is SUPER easy and comes together in about an hour.

Supplies: Orange fleece (amount needed varies based on the size of your child, but one yard is probably plenty)
Black felt
Glue gun or craft glue
Orange thread
scissors
1/2" or 3/4" elastic (length depends on size of neckline)
1" or 2" elastic (length depends on size of waistline)
Sewing machine


To begin, measure your child at the following locations -
elbow to elbow
top of shoulder to top of shoulder
underarm to top of shoulder
waistline

Using your elbow to elbow measurement, cut your fleece this wide (my 4 year old measures 20").

Using your top of shoulder to top of shoulder measurement, cut a semi-circle out of the fold of the fleece. This is now your neckline.

Turn your fleece to the wrong side and fold down the edge of your neckline to make a casing (you don't need to fold under the raw edge - fleece won't fray). Leave a 1 1/2" opening to thread your elastic.

Thread your elastic through, stopping to try on your child before sewing the overlapped edges of elastic together and sewing shut your opening.

Try your costume back on your child and mark where you want the armholes to be.

Sew up sides.


Keeping your costume wrong side out, fold up the bottom edge of your costume. I used a wide sport elastic, so I made a big casing. Leave yourself an opening to thread the elastic.

Thread your elastic, trying on your child again, and sewing your elastic together and sew shut your opening. 

Now you get to make the face! Samantha chose what shapes she wanted for the features, and I cut them out of black felt. We arranged them together on the front of her costume and I used a hot glue gun to glue them down. (You could sew them, but I didn't to save time.)


Now on to the hat! I used this tutorial/pattern and added a rectangle of green felt for the stem. 

Voila! That's it! You made a very simple costume! 

photo 2

Monday, October 29, 2012

Modern Half-Square Triangle Quilt-a-Long Block 8

Welcome! If you are just joining us, information about materials can be found here, and here are the previous blocks: Block 1Block 2Block 3Block 4Block 5Block 6Block 7.


Materials:
8 3.5" squares of Color A
8 3.5" squares of Color B

*note* these are the essential materials for each block, so you can cut several blocks worth of fabric at once to save time!

Create your blocks, following the same procedure as last week. If you need help making your blocks, please see this post. You should end up with 16 2.5" squares. Ready to lay out your block? Here we go!


ROW 1


ROW 2


ROW 3


ROW 4

After you have sewn your squares into rows, press your seams. I like to press odd numbered rows to the left, and even to the right. It helps to use a small piece of paper to number your rows. I like the tiny post-it notes. 

After pressing, you are ready to sew your rows together! Pin, if necessary, but I find that these short rows don't require pinning. 


Press one final time, and voila! Another finished block! Only 64 to go! Pat yourself on the back! Remember to add your blocks to our flickr group!

Block 8


Sunday, October 28, 2012

November classes at MadTosh

I wanted to let you all know that there are new classes scheduled at MadTosh this month! I am so excited to be teaching three of them!

First up is a finishing class - we will discuss a variety of finishing techniques, including grafting, mattress stitch, three needle bind off, blocking, weaving in ends and button bands!

We've also scheduled some classes for quick simple projects - these make great holiday gifts!

One is a fingerless gloves class.

Welted Fingerless Gloves

The pattern is Welted Fingerless Gloves and these only use one skein of dk weight yarn! I used Manos silk and wool blend and it was delightful! These knit up super fast, and are very nice and warm!

French Press Felted Slippers

My other class is on the French Press Felted Slippers. These are super cute and great for the women in your life! I knit the smallest size and could easily have gotten two large pairs out of three skeins of Cascade 220! And I loved picking out the buttons for them! These could come together in an evening - super dooper quick!

Call the shop to sign up for classes!

Saturday, October 27, 2012

Blogger's Quilt Festival

It is time for the fall Blogger's Quilt Festival! Hosted by Amy Ellis, this twice-yearly link up of our favorite quilts is something I look forward to every year! I always see such beautiful quilts and am so inspired!

For my entry this fall I chose my recently completed Triangles Quilt.

Triangles Quilt

This quilt was a collaboration between my hubby and I. I had purchased these colors of Robert Kaufman's Quilter's Linen, and I knew I wanted to do something to make them the focus of the quilt. I was also inspired by Rita at Red Pepper Quilts' use of linen in her quilts. I love linen - I think it is so soft, but I was wary of trying to use it in a quilt. However, I prewashed it to allow for shrinking, and I had no problems with it! I can't wait to use it again!

triangle quilt

I knew I wanted to use triangles, but not half-square triangles. I decided to use isosceles triangles and spent a lot of time laying them out until we had an arrangement we both liked. I liked all the colored triangles pointing up, so we alternated them with linen triangles. Of course, each 'big' triangle is made up of 4 small triangles.

close up of triangles

I had a few issues when I got started with not chopping off the points of the triangles, but with practice I found that it went very well!

I quilted outside each large colored triangle in diagonal lines, and across the bottom of the colored triangles. I didn't want too much quilting to distract from the texture of the linen.

orange corner

I backed it with a multicolored print from the DS line at JoAnn's (it was on super-mega-clearance too!). I liked that it featured several of the colors I used on the front. I also stuck in one orange corner (I seem to be having a trend with having a block of color in the corners of my quilts lately). The binding is Kona Coal, one of my longtime favorites. I wanted to use a dark neutral to frame the quilt.

triangle quilt

(Is it just me, or do the groupings of colored triangles look like little gnomes?)

Blogger's Quilt Festival Stats:

Finished size: 60x 56
Quilted by me
Categories: Throw quilt, home machine quilted, ROYGBIV quilt.


Thanks for stopping by to see my new favorite quilt!

Thursday, October 25, 2012

Halloween Costume Tutorial: Easy Ladybug Wings

I took all of these pictures to write a tutorial last year, and I didn't get around to it in a timely manner! I'm hoping I can remember everything I did!

Last year Samantha wanted to be a ladybug. With two six month olds, her costume had to be easy. She wore black pants and a black shirt, and I had found a ladybug mask in the dollar bin at Target earlier that spring (which she refused to wear, of course!) I had a red sparkly headband left over from her first birthday party (it was ladybug themed and we had a lot of extra goodies), and I made antennae out of pipe cleaners and wrapped them around the headband.


Your supplies for the wings are super simple - a big piece of red felt and some small pieces of black felt for spots. (I purchased my red felt at JoAnns - no need for fancy wool felt here!) You will also need small pieces of elastic, a pencil, string, tape measure, scissors, and a hot glue gun or craft glue.
Oh, and I apologize for the quality of the photos here - I didn't have my fancy new iphone that takes better pictures than my big camera! And it was a dark day, so the lights were on and the red fabric glares in the pictures a lot.

I measured across Samantha's wingspan and decided that her wings should come about to her elbows. Then I decided how long I wanted them to be (mid thigh) and measured the midpoint of the height of the wings.

I put a mark at the midpoint and measured out the width of the wings, and made my string that long.

I tied one end around my pencil, held the string straight out from that midpoint dot, and drew a half circle on the felt (my pencil lines didn't show up great on the red felt, so you may want to use a marker and cut inside the lines). I then cut out the wings.


I measured down a few inches from the top and from the center, and sewed elastic onto the wings (but you can certainly glue the elastic down). Also, I didn't think about the white elastic showing on her black shirt, so I ended up coloring it black with a sharpie, so you may want to use black elastic if your ladybug is going to have a black 'body'.


Then I cut several black circles out of the felt (I traced a glass), and when Samantha was up from her nap, she arranged the circles and we glued them down (I used the hot glue gun - she never touched it!). Her ladybug is not symmetrical, but she was three, and didn't care!


Happy Halloween!

My little bugs were very adorable on Halloween! And our ladybug wings still get worn for dress up all the time!


Wednesday, October 24, 2012

WIP Wednesday

After a million hours of sewing over the past two weeks, I've been taking it easy this week. I have a finished quilt top that I can't share yet, and I've been slowly plowing through the rest of the blocks from the Sew Mama Sew Modern block of the month.


I also pulled fabric for a Modern Maples quilt this morning, and I cut a bunch of squares for a custom quilt for Samantha's best friend's big boy bed. I also sewed up some cute Halloween prints into a table runner, and made treat bags for Ben and Ellie. I've got to make a pumpkin costume tomorrow and knit one more hat and we are ready for Halloween! I may even make myself a simple costume if I have time!


Linking up with Lee at Freshly Pieced!

Tuesday, October 23, 2012

Tutorial: Make Baby/Toddler Leggings from an Shirt

I promised this post last week, but honestly, I was so exhausted after KCWC and I was frantically trying to finish 3 quilts and 2 quilt tops before my quilt guild meeting, that blogging fell by the wayside. So now I've got the tutorial all ready for you!

Toddler leggings

I made these leggings for Ellie at the end of KCWC. I had made her several dresses and she had some hand-me-downs, but no coordinating leggings. (She had tights, but since we play outside every day I knew those wouldn't last long!) I have a stack of old shirts that I have outgrown post babies, and I couldn't bear to throw them away or donate them, when I knew I could repurpose them somehow! I used some to make some shirts for Ben, but Ellie didn't need shirts. I knew I could use them for leggings - after all, they are knit material!

Supplies: Old shirts - nice 'dress' t-shirts from Old Navy, Gap, Banana Republic, Ann Taylor. These are stretchier than 'regular' t-shirts, so will do better as leggings.

1 inch wide elastic - I purchased mine at JoAnn's - I loved the colors they had!


Ballpoint needle for your sewing machine
Marking pen
Regular sewing supplies.


First you need a pair of leggings that fits your child. We will use these as our 'pattern.'


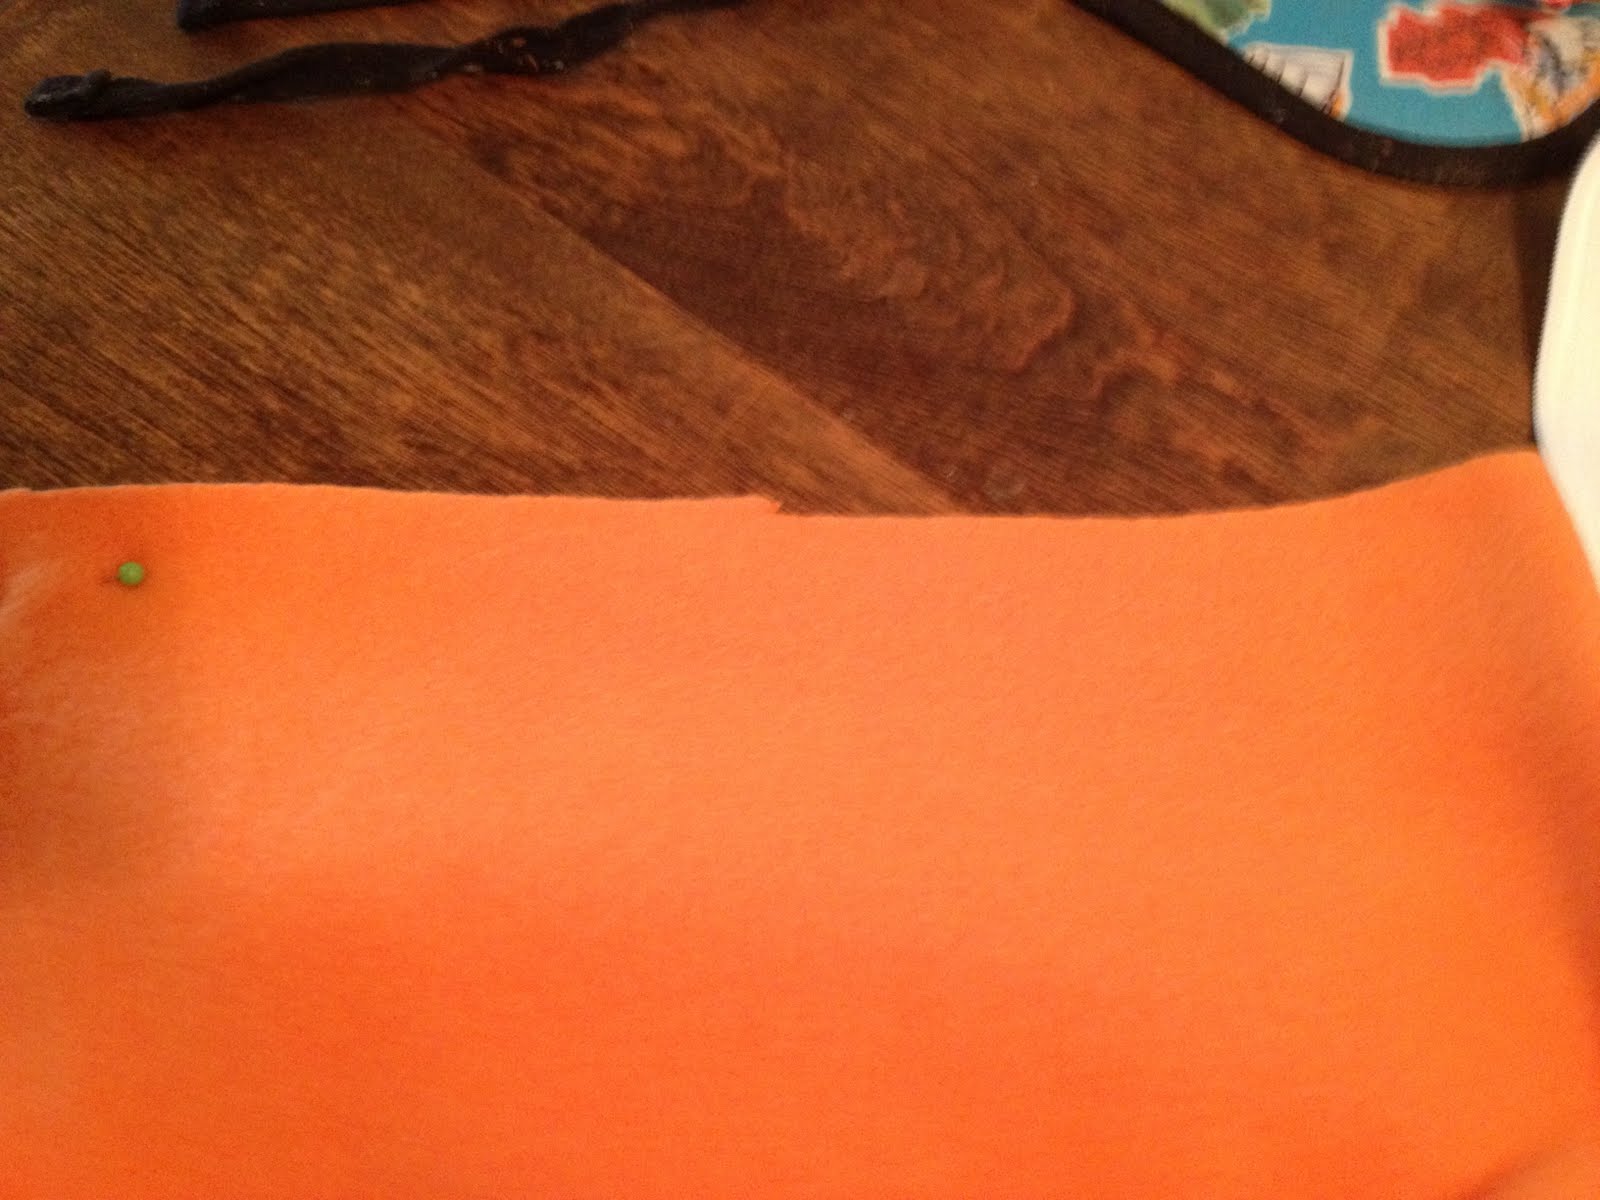
Fold your shirt in half, lining up the bottom hem (we will use the bottom hem as the bottom hem of the leggings, so less work for you! ).  Smooth out any wrinkles. 


Fold your leggings in half, pull out the crotch and line up the bottom of the leggings with the bottom of the shirt. Make sure your folded leggings line up with the fold of your shirt. It doesn't matter if you fold your leggings toward the front or back - they are the same pattern piece. 


Using your marking device (I use a washable marker - nothing fancy!), trace a 1/4" around your leggings, stopping about 1 inch from the top (we are going to have exposed elastic, so you don't need to draw to the top or past it). 


Pull your leggings away and draw your line straight across the top.


Cut out your leggings.  Turn your pieces right sides together and line up your top curved edge (the front and back seam). 


Sew together, using a zig-zag stitch. Repeat on other side. 


Keeping right sides facing, pull the legs apart - the seams you just sewed are now in the middle - they are the front and back seam. Using your zig-zag stitch, stitch up one leg, across the crotch and down the other leg. 


Measure your child's waist and cut elastic slightly smaller (For this project I cut my elastic about 1 inch smaller - since you are gong to seam the elastic, this will make them about 2 inches smaller). Sew elastic together with right sides facing, using a 1/2" seam. Align the seam of your elastic with one of the seams of your leggings. *Make sure you put the wrong side of the elastic facing the right side of the pants - this picture is incorrect!* Pin the elastic to the leggings. I found it easiest to pin the front and back and the two sides. I folded the elastic to find these points. You may want to use more pins, but I found it easier to gently pull the elastic while I was sewing. I still had some puckers (especially on my first few pairs), but I wasn't too worried - after all, she is going to wear these under dresses! And, if I pulled too hard on this wide elastic my machine started to skip stitches. 

Sew your elastic to your leggings using a zig-zag stitch. I kept my leggings inside out so that I could make sure I was getting the leggings inside the stitch. I sewed about 3/8" from the top of the leggings. 


Turn right side out and ta-da! Cute leggings! I made 5 pairs in just over an hour - it is very easy to batch make these! 

I wish I had a modeled shot for you, but it has been too hot here to wear them! 


Monday, October 22, 2012

Modern Half-Square Triangle Quilt-A-Long Block 7

Welcome! If you are just joining us, information about materials can be found here, and here are the previous blocks: Block 1Block 2Block 3Block 4Block 5Block 6.


Materials:
8 3.5" squares of Color A
8 3.5" squares of Color B

*note* these are the essential materials for each block, so you can cut several blocks worth of fabric at once to save time!

Create your blocks, following the same procedure as last week. If you need help making your blocks, please see this post. You should end up with 16 2.5" squares. Ready to lay out your block? Here we go!


ROW 1


ROW 2


ROW 3


ROW 4

After you have sewn your squares into rows, press your seams. I like to press odd numbered rows to the left, and even to the right. It helps to use a small piece of paper to number your rows. I like the tiny post-it notes. 

After pressing, you are ready to sew your rows together! Pin, if necessary, but I find that these short rows don't require pinning. 


Press one final time, and voila! Another finished block! Only 65 to go! Pat yourself on the back! Remember to add your blocks to our flickr group!