Materials: 33 squares for background, 3 squares for star centers, and 4 squares for each star (12 total). You can choose if you want your stars to have different colored centers. My block measures 18.5", but you can easily size your block down if you prefer.
To get an 18.5" block, cut your squares to 3.5". If you prefer a 12.5" block, cut them at 2.5"

Using your rotary cutter, cut all of the squares for your star points in half on the diagonal.
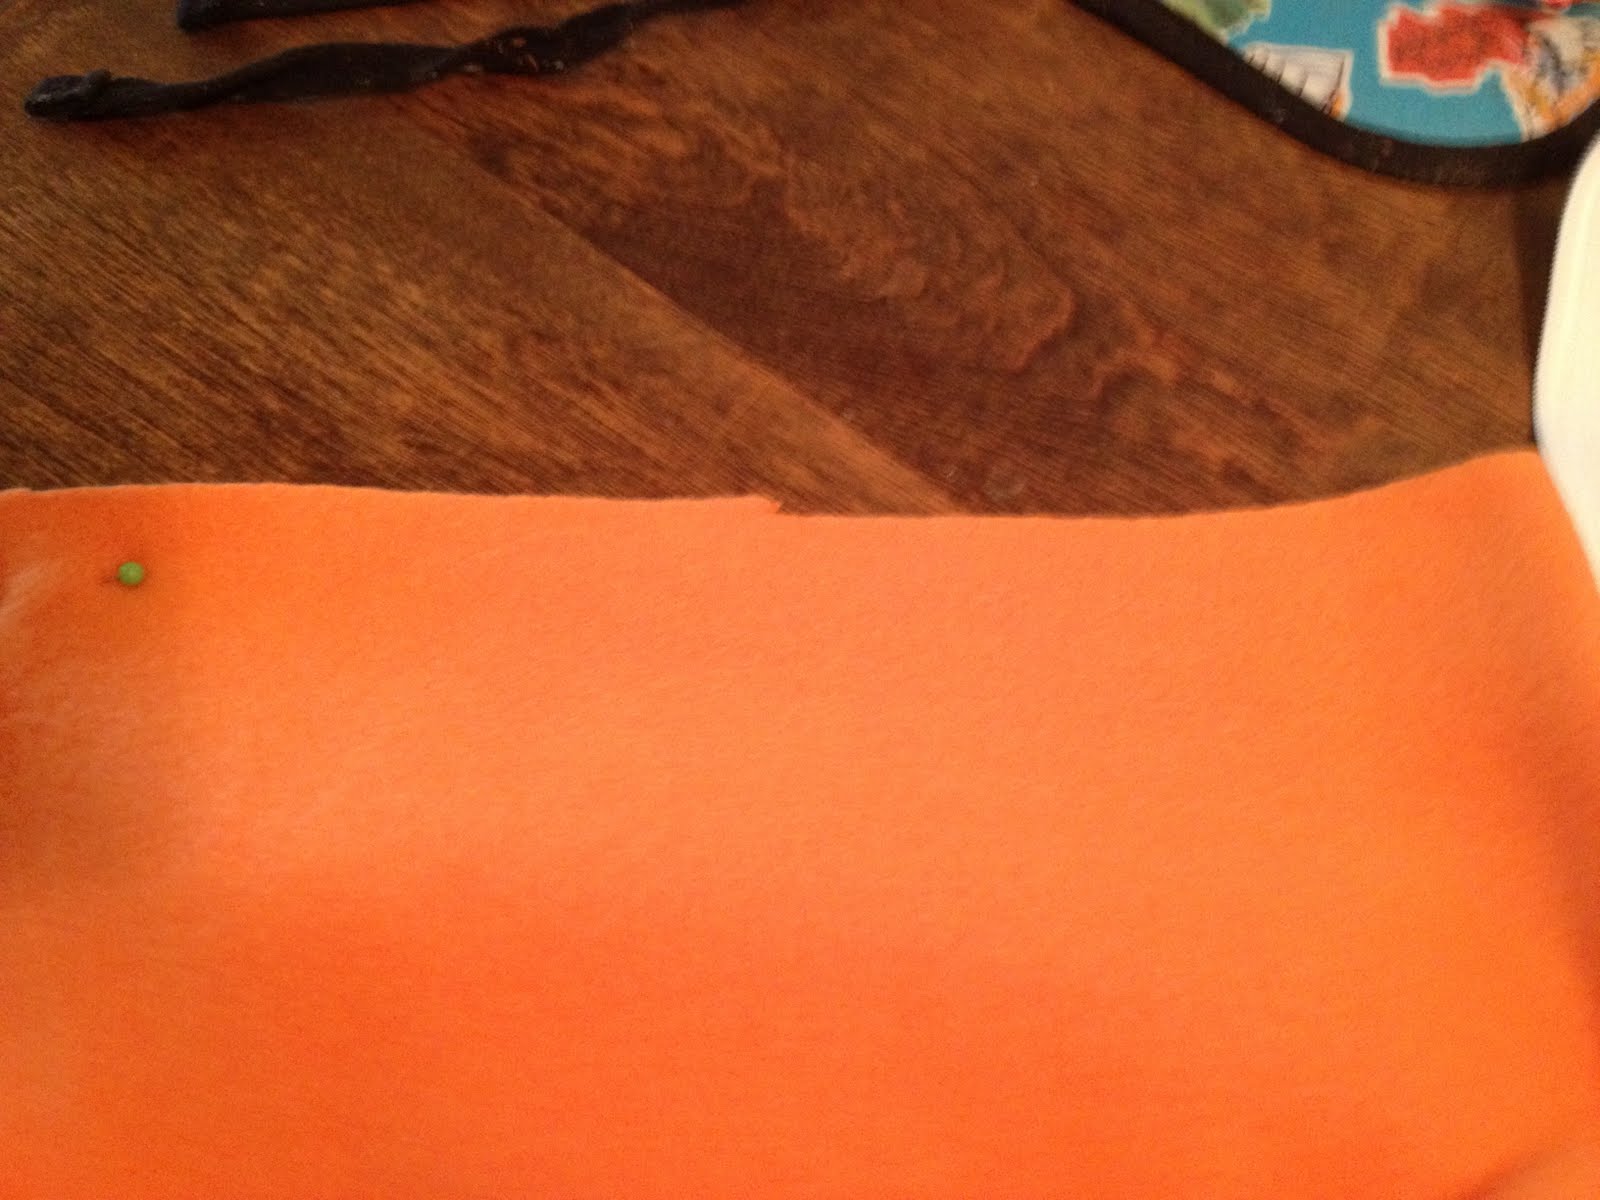
Place one triangle on a background square, right sides facing. This is where your 'wonky' come in - you can place it at any angle you like, just be sure that after you sew a 1/4" seam your star point covers your background fabric.


Repeat for three more squares, and then repeat for the other two stars (four triangles sewn to four background squares per star). Press star points open. Now you will sew the other star point on each of the four background squares.

Sew a 1/4" seam, and press points open.

You should have 16 blocks that look like this. Now you will trim the excess fabric.

I turn my block over, and trim following the background square. If your background square is darker than your star points fabric, you may want to trim your background square after you have trimmed the excess fabric from the point. Be sure to leave a 1/4 seam where you sewed your point down.

You will have 12 star points. Now you lay out your block. You can lay it out any way you like, or you can follow this layout. If laying it out in your own design, I find it helpful to layout the stars first, and fill in the background fabric.

Sew your squares into rows, press your seams open or to the side, depending on your preference, and sew your rows together.
That's it! One block down! Please let me know if you have any questions!