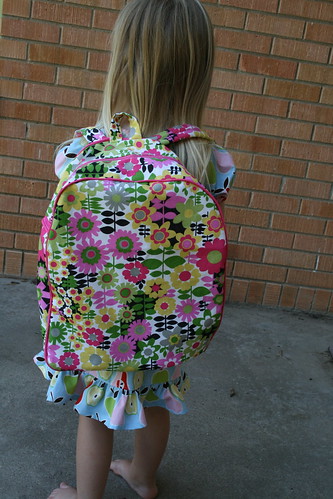
I had emailed Rae to make sure her pattern would be big enough, (and it is!) and took Samantha shopping for fabric. We lucked upon this cute fabric - 'girly' without being too much. (It is home-dec weight from Hobby Lobby).

This project gave me more that a few fits. I felt like I couldn't baste my piping close enough to the cord - this was my first time using piping, and I hope it gets easier! I also had trouble stitching my side panels close enough to the zipper, and there is a small gap at the base of the zipper I'll close up by hand. (Next time I use the trick I learned from the lunchbox and buy a longer zipper and cut the bottom off so I don't have to worry about hitting the metal stopper!). I also misplaced my D rings, so had to use another ring, making my straps not adjustable. I found them though, so I may rip out the straps and sew in the D rings. I also wish I had used matching thread for the piping basting, as you can see my basting stitches - I can go back and rip them out if I want to.
Most of my troubles were doubting myself, so I think it will be easier the next time. I'm still deciding if I'll go back and line and interface it. It's a bit floppy, but I'm not too worried about that. I do think I'll make another one.
Looks great to me! And I'm sure she likes it, which is what's important - although, if she's bothered by basting issues, you may have a sewing buddy in the making, so it's good either way! :-)
ReplyDelete